
Windows aren’t just something pretty to look through. Everyone wants them to look perfect for years and even decades without actually fixing anything. The devil is in the details. Over time, the old caulk dries up, cracks show, and suddenly you get air sneaking in, water puddling where it ain’t supposed to. That’s why proper maintenance matters.
Learning how to reseal windows outside is like giving your home a sharp-looking protection against the California weather. You keep your energy bills down, stop the drafts, and keep the Bay Area rain and coastal weather from making a mess inside. Scroll down to learn more.
Why Exterior Window Sealing Matters
Seal windows from outside and you’re stopping water intrusion completely. Air leaks? Gone. Energy efficiency? Goes up. A draft is more than just a cold wind sneaking into your house at night. It’s money flying out the window. And the Bay Area is the place where coastal winds sneak right through the outside window seal alright if there are any gaps.
Not to mention pests. Mice, ants, who knows what else. If you want to keep them out, you’ve got to mind your window caulk. Properly sealing exterior windows is like laying down the law: water damage and all that won’t cross the line. If you do it right.
Choosing the Right Caulk for Exterior Window Sealing
Choosing the first tube you see being praised online isn’t the proper way of choosing caulk. Silicone sealant is good for weatherproofing. Paintable acrylic latex is perfect for making nice-looking trim work. Siliconized acrylic is for masonry, brick walls, concrete.
Also there’s a caulk made just for window and door applications. Pick a color you really like to make sure your window trim looks good. Or you’ll be regretting it when the sun hits. Makes all the difference in the world when you’re trying to get that smooth bead look and keep the window weatherproofing tight.
Essential Tools and Materials for Window Caulking
It may come as a surprise to some people, but you do need some reliable gear if you want professional results instead of a sloppy-looking job.
A caulking gun is the first thing to look for, of course. Don’t cheap out, that thing can be a lifesaver and if you pick the wrong one you would either have to live with the weird-looking caulk or you would have to buy a good gun and start it all over again.
A utility knife has to be as sharp as possible. You’ll need it for old caulk removal and for cutting that cartridge tip just right. Painter’s tape keeps things neat, you’ll need it too. Isopropyl alcohol and paper towels are your cleanup crew. And a caulk finishing tool or even a stiff brush, whatever you got, helps make that bead of caulk smooth.
Mineral spirits and gasoline are for silicone clean-up, so you don’t get frustrated when stuff sticks where it shouldn’t.
Preparing Window Surfaces for Caulking
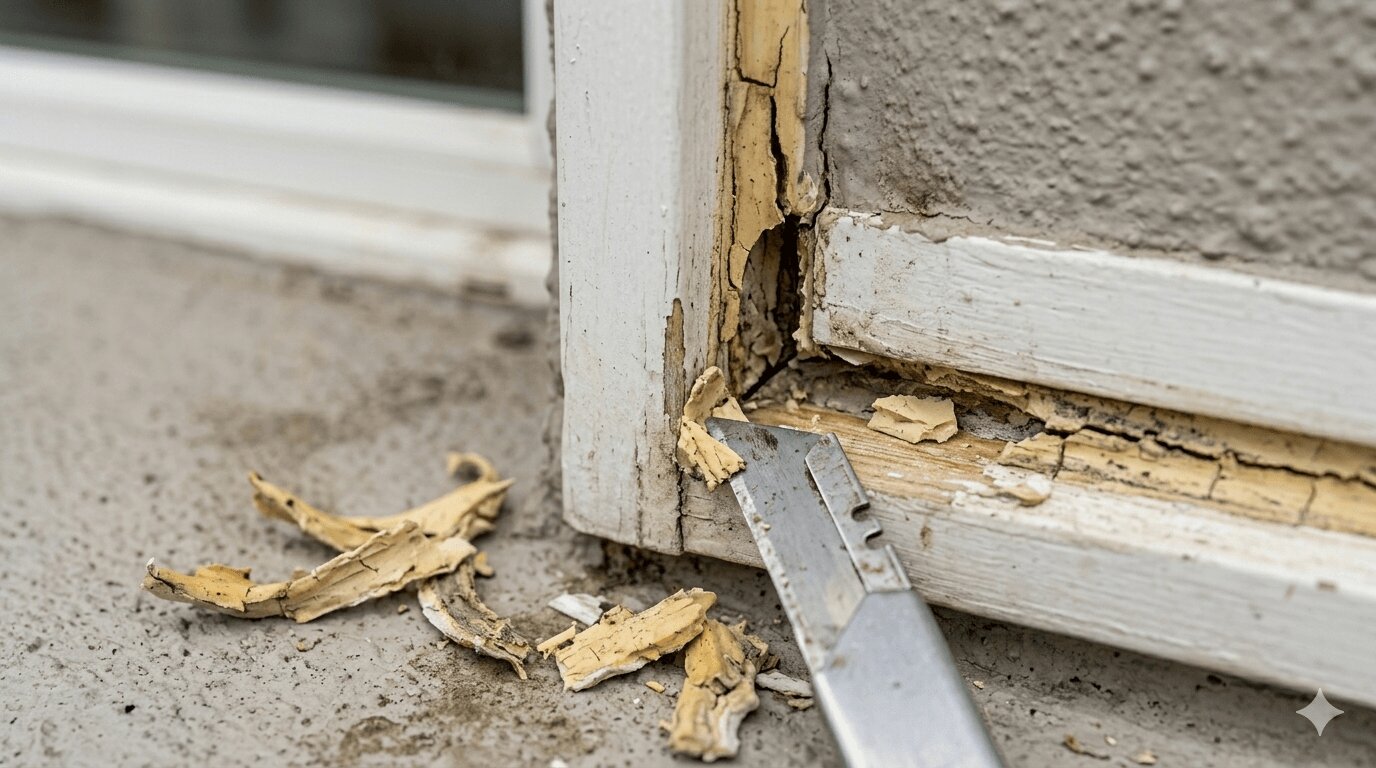
Here’s where a lot of people mess up. Old caulk removal. You’ve got to scrape it, clean it, get it all off. Don’t leave any of that behind or it’ll become a problem later. Hit it with isopropyl alcohol, let it dry completely. Painter’s tape around the window trim, to make sure every line is sharp and straight.
Good preparation work makes all the difference and stops adhesion failures. It all makes your outside window seal last for years and withstand all kinds of San Francisco weather.
Sealing Exterior Windows
Now pay attention because this part is about making changes.
Cut the caulk cartridge tip at an angle, load your caulking gun, and squeeze evenly. Don’t rush it, keep pressure steady, or you’ll get a lumpy bead.
You lay it right between the window frame and siding, tool it smooth, and pull that painter’s tape off before it sets. San Francisco homes got all sorts of siding: stucco, fiber cement, brick. You gotta adjust your technique.
Smooth bead, consistent pressure, and a little patience. That’s how you get a real window seal exterior your neighbors will envy.
Where Not to Caulk Around Windows
Now, let’s talk about what you have to avoid doing. You don’t want your windows ruined.
Never caulk weep holes because their purpose is to drain moisture. Blocking them means trapping water where it shouldn’t be. Don’t caulk movable parts like window sashes. Storm window bottoms? No need to caulk them too. Caulkin’ where you shouldn’t means getting water damage, air leaks, and energy efficiency problems. All that comes back to make you pay extra.
Caulking Different Exterior Materials
Every type of siding has to be treated in its own special way. When dealing with stucco you have to push that caulk right in, textured surfaces like that won’t forgive lazy work. Brick or masonry require flexible window caulk. Fiber cement siding needs thicker beads. Otherwise it won’t hold. Vinyl is the easiest option since the lines have to be thin and accurately placed.
Each surface makes you adjust your approach, but the goal remains the same. Seal around windows tight, keep moisture out, air leaks gone, and your home gets safer and more comfortable to live in.
Maintenance and Inspection Tips
Don’t think you’re done once the caulk dries. Check it, especially after storms or wind. Cracks, discoloration, or separation mean you have to replace it. Typically window caulk lasts five years, but you have to check it every season. Keep up with it, and your exterior window seal will stay strong, stop water intrusion, air infiltration, and keep your home energy efficiency up where it belongs.
Ready for a Consultation?
Get a Free Estimate Today!